Water colour painting tips and tricks.

                           painting,  watercolour painting,  watercolor painting, watercolour,  watercolor,  paint, drawing, colours,

Water Colour Painting Tips and Tricks: If any one ask me to give some tips and tricks for water colour painting then I'll give them these tips.
For painting the things that you will need, means the common things are,----
  • A block of Arches cold press watercolor paper (140lb, size 16″ x 12″)
  • Painting palette for watercolor paints
  • 2 containers of water
  • Paper towels or a rag
  • Rubber cement pick-up (2″ x 2″) or a normal eraser
so these are the common things that you basically use for your water colour painting. But here I am giving some extra things that will help you to create new and extra ordinary art piece.
  • Spray bottle with clean water
  • Salt
  • Alcohol (90%+ isopropyl alcohol)
so you might be thinking that what is the use of these materials on water colour.
Let's find out.......

If you apply salt on water colour painting then it will absorb the colour and give you a very fine textured art.like this...


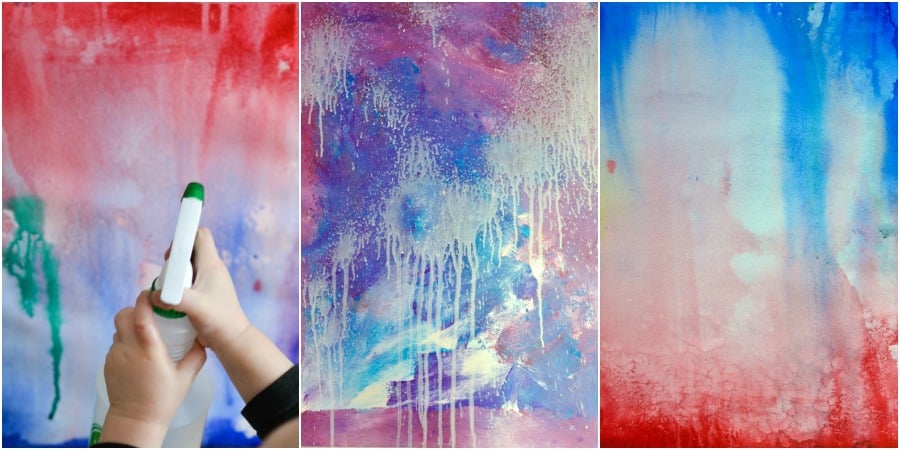
Next if you sprey on you painting with clear water when your painting is wet then it will look like this...                                                                                                                                                                                                     
                                  

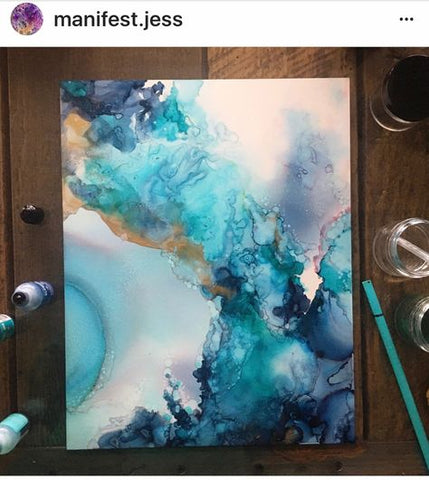
If you apply alcohol on your art piece then this will happen....


Next there is a very special thing that you can use. That is a blow dryer or hair dryer.
If you blow dry your painting when it is wet then you will get two benefits .Very firstly the picture will dry very quickly, and secondly it will give a different texture,just like this picture...


You can also use a Grumbacher’s Miskit Liquid Frisket on your master piece. It will help you to have paper white texture which will define the lights..Just like this..


OK, guys that's all for this blog.Use these materials on your art to have a beautiful master piece..




Final word I hope this article was helpful for you to know about the watercolour tips and tricks.

Comments

Post a Comment

Popular posts from this blog

All about perspective.Very easy to learn.Step by step...

Hi guys,today I am back with another interesting topic that is about perspective. Perspective is very important topic to learn.It is the most important thing to know about for realism. So let's start...... First of all let me give you a clear scene about " What is perspective?" .....In simple statement, we  see a person who is in front of us bigger than the person who stands far away from me..This is actually called perspective.. OK, let's see if we draw a figure then what will be the proportions. here as you can see , I have given a male figure proportion..  This image actually gives a sense of  perspective.It describes that the size of things get smaller with the increase of distance. Here I am giving some images that will make it easy to learn.    With the help of perspective you can also make 3d paintings,with using point perspective. Now you might be thinking what is point perspective. So here it is,...... There are two points means two ax...

Elephant realistic pencil drawing

Elephant realistic pencil drawing Here I will explain you how you can draw a realistic drawing of elephants very easily. Checkout this video.... First of all lets talk about the materials I have used in this drawing. I have used very basic pencils and erasers. For pencils I have used graphite pencils, such as hb, 2b, 4b, 6b and 10b. I like to use mechanical pencils very much.. So, here also I have used mechanical pencils( 0.5mm) with 2b lead in it, and 0.9mm also. To make it look more realistic you have to erase for fine textures. I have done the same. For erasing I've used kneaded eraser, for fine lines and standard eraser for larger areas. I have used some smooth paper to have a fine texture in it. I have used smooth thik (150gsm) cartreez sheet. Because I feel like I am comfortable with it. And now lets talk about the blending part. For blending I have used cottons ( for larger areas)  and blending stumps ( for smaller areas). *In this type of drawing y...